Choose your brew method
Cone-style Dripper
What you'll need
- Cone-style dripper (e.g. Hario V60, Origami, V60 Neo, V60 Mugen, Cafec Flower, Kono, etc.)
- Cone-style paper filters
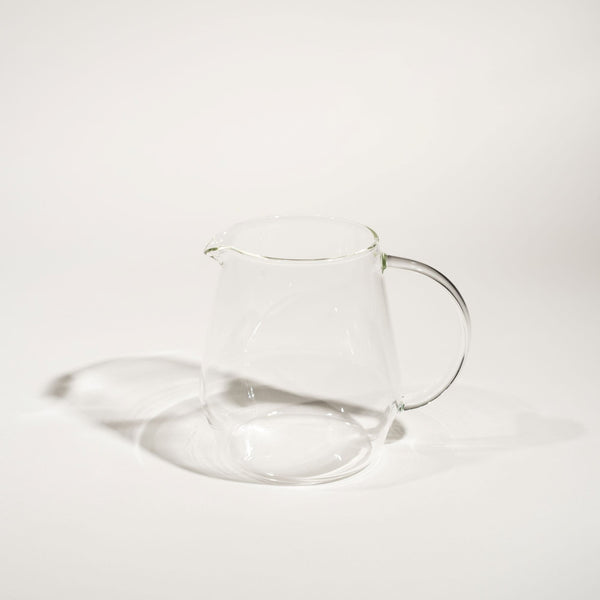
- Carafe
- Kettle
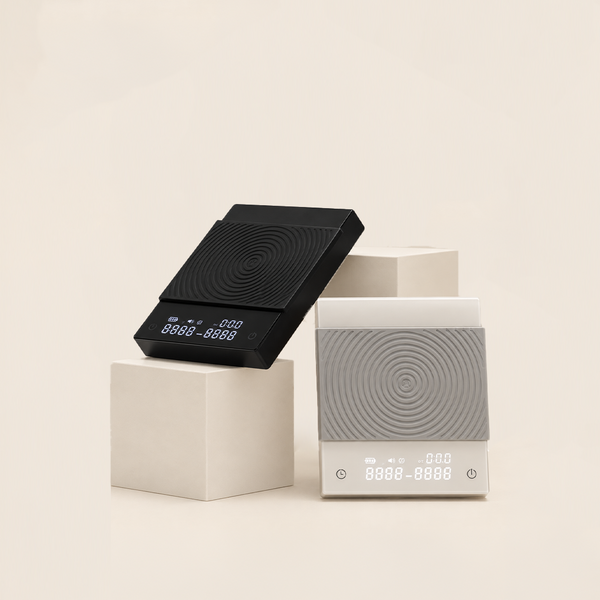
- Scale and timer
- 320g of water at 93°C/199°F (~50ppm)
- 20g of coffee (medium grind, approx. 780 microns)
How to make it
- Start by using hot water to rinse the filter in your dripper.
- Pour the 20g of ground coffee into the dripper.
- Start your timer, pour 80g of the hot water in slow, gentle circles to bloom your coffee.
- At 0m40s, pour 120g (to ~200g) in circles.
- At 1m30s, pour 120g (to ~320g) in circles.
- The coffee should drip through in 2m30s.
Additional information
The above recipe was developed while using a unimodal grinder, a ceramic Hario V60-02, Hario V60-02 white filters, and a gooseneck kettle. To further dial in your coffee, here is some more information to help with more minute adjustments:
- From the cone-style drippers listed above, we find that the Hario V60 Neo flows the fastest, followed by the Hario V60 and Origami, while the Cafec Flower, Hario V60 Mugen, and Kono flow slightly slower.
- With cone-style paper filters, we would rank these from fastest to slowest: Sibarist FAST > Hario V60 > OSMO > Cafec Abaca > Origami.
- Unimodal grinders grind more evenly, resulting in a cup that has more clarity, a lighter and more delicate body, and generally more vibrant acidity. Bimodal grinders produce more fines, so the brew will likely flow slightly slower. Those fines, however, could create more sweetness and body, but also bring higher highs and lower lows in the cup. Try grinding coarser to achieve closer results to a unimodal grinder, or grind finer to bring out more body and dynamic range.
Wave-style Dripper
What you'll need
- Wave-style dripper (e.g. Kalita Wave, Origami, April, Orea, etc.)
- Wave-style paper filters
- Carafe
- Kettle
- Scale and timer
- 320g of water at 90°C/194°F (~75ppm)
- 20g of coffee (medium grind, approx. 810 microns)
How to make it
- Start by using hot water to rinse the filter in your dripper.
- Pour the 20g of ground coffee into the dripper.
- Start your timer, pour 80g of the hot water in slow, gentle circles to bloom your coffee.
- At 0m40s, pour 120g (to ~200g) in circles.
- At 1m30s, pour 120g (to ~320g) in circles.
- The coffee should drip through in 2m45s.
Additional information
The above recipe was developed while using a unimodal grinder, an Origami Air S, Kalita Wave 155 filters, and a gooseneck kettle. To further dial in your coffee, here is some more information to help with more minute adjustments:
- From the wave-style drippers listed above, we find that Orea flows the fastest, followed by Origami, April, and Kalita Wave Ceramic, with the Kalita Wave 185 Stainless Steel exhibiting the slowest flow rate.
- With wave-style paper filters, we think that Orea filters flow fastest, followed by OSMO and Kalita, April, and Origami (in no particular order).
- Unimodal grinders grind more evenly, resulting in a cup that has more clarity, a lighter and more delicate body, and generally more vibrant acidity. Bimodal grinders produce more fines, so the brew will likely flow slightly slower. Those fines, however, could create more sweetness and body, but also bring higher highs and lower lows in the cup. Try grinding coarser to achieve closer results to a unimodal grinder, or grind finer to bring out more body and dynamic range.
Hario Switch
What you'll need
- Hario V60-02 Switch Immersion Dripper
- Cone-style paper filters
- Carafe
- Kettle
- Scale and timer
- 320g of water at 93°C/199°F (~50ppm)
- 20g of coffee (medium grind, approx. 780 microns)
How to make it
- Start by using hot water to rinse the filter in your dripper.
- Close the Switch, pour the 20g of ground coffee into the dripper.
- Start your timer, pour 80g of the hot water in slow, gentle circles to bloom your coffee.
- At 0m40s, release the switch and pour 120g (to ~200g) in circles.
- At 1m30s, pour 120g (to ~320g) in circles.
- The coffee should drip through in 2m30s.
Additional information
The above recipe was developed while using a unimodal grinder, a Hario Switch, V60-02 paper filters, and a gooseneck kettle. To further dial in your coffee, here is some more information to help with more minute adjustments:
- Hario Switch is an example of a hybrid immersion brewer. When the valve is closed, the coffee and water steep together longer to gently extract the coffee, which can result in a consistent and forgiving brew. We find that adding an immersion stage can enhance the body and sweetness or reduce any sharp edges in the cup.
Percolation (valve open) vs. Immersion (valve closed):
- Percolation is like rinsing a muddy boot under a running tap. Fresh water keeps hitting it, grabbing more mud every second. Immersion is like soaking that boot in a bucket.
- Percolation (valve open): Enhances the extraction rate. Imagine the fresh water landing on the coffee bed is water that hasn’t dissolved anything yet, so it pulls out more flavour before draining through and being replaced by the next pour of fresh water. This keeps extraction moving rapidly and pulls out more flavours throughout the brew.
- Immersion (valve closed): The same water sits with the coffee the whole time. As the water becomes saturated, extraction naturally slows down and evens out, removing the need to manage it with pouring technique (which greatly improves consistency).
When to use immersion (valve closed):
- When a coffee is tasting thin or overly acidic.
- When you want more body, sweetness, and balance.
- When you want a more consistent brew with less dependence on pouring technique.
- When brewing co-fermented coffees. The extra fermentation stacks fragile, funky, high-toned flavour compounds on top of the coffee's natural profile. Those compounds are easy to blow past. Percolation's constant fresh water is great at pulling out everything, including the harsher, bitter stuff that can bury those delicate notes. Here is where immersion can be helpful: Try using immersion during both the bloom and the final pour for about 20-30s. This can help turn those sharper notes into something softer and more balanced.
AeroPress
What you'll need
- AeroPress
- Filter of choice
- Kettle
- Scale and timer
- 16g of coffee (medium-fine grind, approx. 750 microns)
- 240g of water at 91°C/195°F (~50ppm)
- Sturdy carafe or vessel to plunge your AeroPress
- Stirring utensil (chopsticks, AeroPress paddle, butter knife, etc.)
How to make it
- Place your paper filter into the AeroPress cap.
- Screw the cap on the AeroPress and set it on your carafe.
- Use hot water to rinse the filter in your AeroPress chamber.
- Pour the 16g of ground coffee into the chamber.
- Start your timer, carefully add 240g of water.
- Gently stir 10 times, then immediately place the plunger on top to create a vacuum, preventing the coffee from dripping through.
- At 1m20s, slowly press the plunger for 40-45 seconds until complete.
- If desired, add 10-20g of room temperature water to increase clarity.
Additional information
Inverted AeroPress Recipe
How to make it:
- Insert the plunger 1cm into the chamber. Place it upside down on a table.
- Place a paper filter into the cap and rinse with hot water.
- Pour the 16g of ground coffee into the chamber.
- Start your timer, carefully add 240g of water.
- Gently stir 10 times, then attach the cap.
- At 2m00s, carefully flip the AeroPress over and slowly press the plunger for 40-45 seconds until complete.
- If desired, add 10-20g of room temperature water to increase clarity.
Chemex
What you'll need
- A Chemex
- Chemex paper filter
- Kettle
- Scale and timer
- 240g of water at 95°C/203°F (~50ppm)
- 14g of coffee (medium-coarse grind) (grind size: 8)
How to make it
- Place the filter in your Chemex with the three-layer side facing the spout.
- Start by using hot water to rinse the filter in your Chemex.
- Pour 14g of ground coffee into the dripper.
- Start your timer and pour 40g of water.
- At 0m30s, pour 100g in circles.
- At 1m15s, pour 100g in circles.
- The coffee should drip through between 3m30s to 4m30s.
French Press
What you'll need
- A French Press
- Kettle
- Scale and timer
- 450g of water at 95°C/201°F (~50ppm)
- 28g of coffee (medium-fine to medium grind, approx. 750-810 microns) (grind size: 8.5)
- Two spoons
How to make it
- Add your ground coffee to your French Press.
- Start timer, pour water over coffee grounds, and leave the plunger aside.
- Wait 4 minutes.
- Stir the grounds 3 times gently, breaking through the crust that forms on top.
- Wait another 4 minutes.
- Use the two spoons to scoop or skim the floating coffee grounds and foam out of the vessel.
- Wait another 2 minutes.
- Put the filter plunge on, and plunge gently to separate liquid from coffee grinds.
- Pour and enjoy!
Auto-Drip Machine
What you'll need
- Auto-Drip Machine
- Scale
- 60g of coffee (Medium grind, ~800 microns)
- 1000g water at ~90ppm (or a 1:16.6 ratio; adjust based on your machine capacity!)
Water Temperature: Your machine typically has a set temperature, but adding warm or hot water directly into the brew chamber (instead of cold water) can sometimes help maintain heat where it matters. Hotter water extracts coffee more efficiently, resulting in a noticeably better cup.
How to make it
- Place the paper filter in the brew basket and rinse with water.
- Add 60g ground coffee into the filter basket.
- Add water to the machine's reservoir.
- Start the brew machine.
- Let the machine do the rest, and enjoy!
Espresso
What you'll need
- Espresso machine
- Scale and timer
- Tamper
- 18g of coffee (Fine grind, ~200 microns)
- Recommended: WDT tool or coffee distributor
How to make it
- Dose 18g of ground coffee into the portafilter.
- Distribute evenly and tamp firmly on a level surface.
- Lock the portafilter in, place your cup and scale underneath, and tare to zero.
- Start the shot and timer together, stopping at 36-40g output within 26-32 seconds.
Additional information
General Troubleshooting (Adjust one variable at a time):
- Brewed too fast (<26s): Grind finer (or increase dose by 0.5g)
- Brewed too slow (>32s): Grind coarser (or decrease dose by 0.5g).
- Sour, sharp, or salty: Under-extracted. Grind slightly finer, or push your yield higher.
- Bitter, dry, or astringent: Over-extracted. Grind slightly coarser, or cut the shot slightly earlier.
- Thin or watery: Increase dose by 0.5g or grind finer to increase extraction resistance.
Light Roasts:
Because most of our coffees are light-roasted at The Lab, we typically use a longer ratio with a relatively low water temperature (90°C, 18g in, 42g out). It differs depending on the coffee, but in most cases, we find that light roast coffees can benefit from a longer ratio to help soften intensity and acidity.
Cupping
What you'll need
- Multiple identical cupping bowls/cups
- Grinder
- Scale and timer
- Cupping spoons (soup spoons work too!)
- Water at ~205ºF or 95ºC (~50ppm recommended)
- Coffee(s), about 8-16 grams of coffee per cup, depending on the volume
Note: The perfect ratio of coffee to water is 8.25 grams of coffee per 150 ml of water. An easy formula is volume of water (in g) multiplied by 0.055. For example, if my cup holds 260g of water to the brim, you’d need 14.3g of coffee.
How to make it
- Dose and grind your coffees to be medium to medium-fine.
- Assess the dry aroma of coffee.
- Start your timer and pour hot water into each cup.
- Smell the wet aroma.
- After four minutes, while smelling close to the cup, use one cupping spoon to break the crust by pushing the coffee grounds away from you.
- Using two spoons, skim and discard the floating grounds and foam.
- Around the 12 minute mark, the coffee becomes cool enough to taste.
- Use your cupping spoon to scoop some coffee from the surface of the cup, and slurp up the coffee (loudly!).
Note: While it might feel silly to slurp the coffee, this process aspirates the coffee and spreads it across your palate, and you can taste more of the flavour!
MISSING GEAR?
Complete your set up
Curated tools for every brew method, skill level, and morning routine.